3D Printing
Disc setup
- We will create a parabolic disc for 3D printing.
- The disc will have the equation y = x^2, and we will revolve it around the vertical axis to create a paraboloid.
- With a disc of equation y = x^2, the focus point will be (0,2)
- We will limit the y axis from 0 to 2, the x axis from -sqrt(2) to sqrt(2).
- Working in Fusion 360, which has unit of millimeters, this corresponds to a disc of height 2mm, and a diameter of 2sqrt(2)mm. This is too small for practical. We want to scale this up by a factor of 30 times, so that our disc will have height of 6cm, diameter of 8.485cm.
- For the thickness of the disc, making it too thin is easy to break, and too thick will require a long time to print. I find that a thickness of 3-5mm is fine.
- Now that we have an idea of the shape and size of our disc. We will design it using Fusion 360.
Instructions
- In top left corner, in the menu bar, select Solid, then under it select Create Sketch. This will prompt you to select an axis to create the sketch on. It does not matter which one you choose.
- Once you're on the surface, go to the top menu bar again, and select "Create", there's a drop down list. Select "Conic Curve".
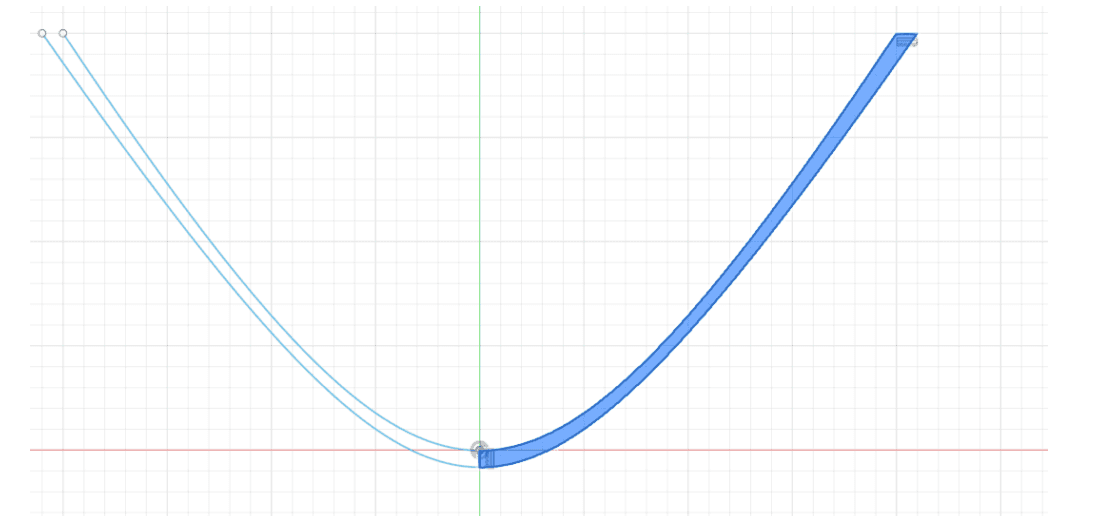
- Select the first point on (-10,10), second point (10,10). Then drag the point down so that the vertex is at (0,-5). Choose rho value = 0.667. Your parabola should have a vertex at 0.
- Create another parabola, this one a little bit bigger. We will add thickness using this. Choose the two points a little bit wider than the ones above, and set the vertex a little bit lower than the one above.
- This is not a closed surface that we can revolve around. Go to “Create”, then select “Line”.
Connect the ends of the top right of the two parabolas, and connect the vertex at the bottom as
well. Finish the sketch by clicking the top right “Finish Sketch” option.
Your sketch will look something like this:
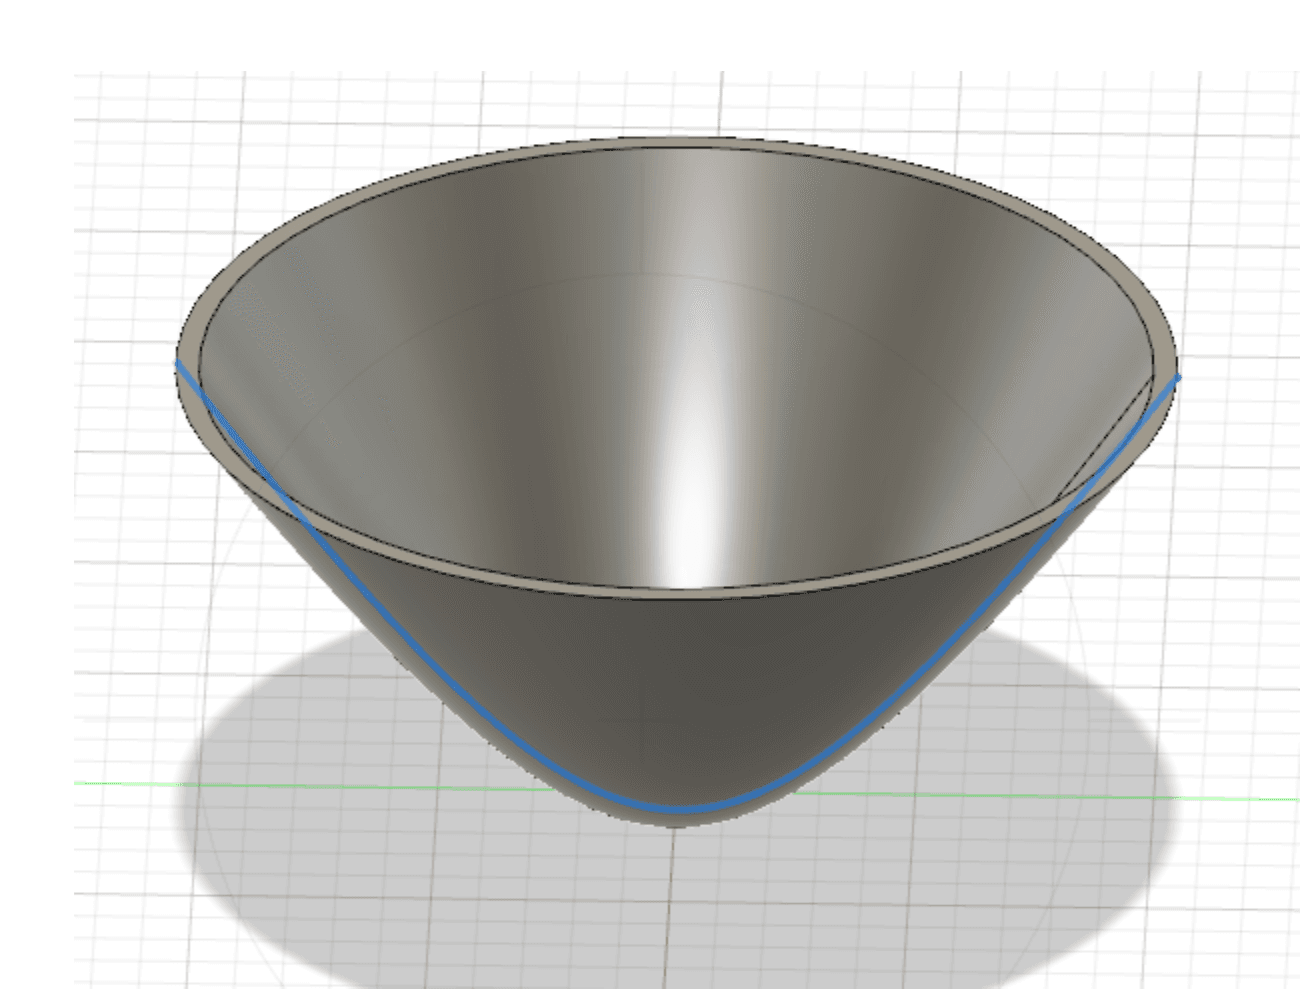
- Select the sketched closed surface, on top, choose “Revolve”. Specify that it is 360 degrees. You should get a solid hollow disc:
- You should have a completed sketch of your desired solid. Go to File 🡪 Export, and export this solid as an STL file.
Pre-printing
- Download Creality 3D Slicer from: https://www.creality.com/pages/download-k1-max-flagship?spm=..page_1934481.products_display_1.1 (opens in a new tab)
- This allows you to convert the STL file to a gcode which the printer uses as commands for printing
- Once you download it, open it and select K1 Max, with 0.4mm nozzle.
- On the left menu bar, choose "Open File", and choose the STL file for the disc you just created.
- You should be able to see the disc in the Slicer. The disc should have a height of 20mm, diameter of 28.28mm
- On the left menu bar again, choose "Scale", and select the scale to be 300%, so that our disc now has a height of 60mm, diameter of 84.85mm
- Now, on the right rectangular box, there is a middle icon at the bottom that says Edit. Click on that and a setting will pop up. Go to Speed.
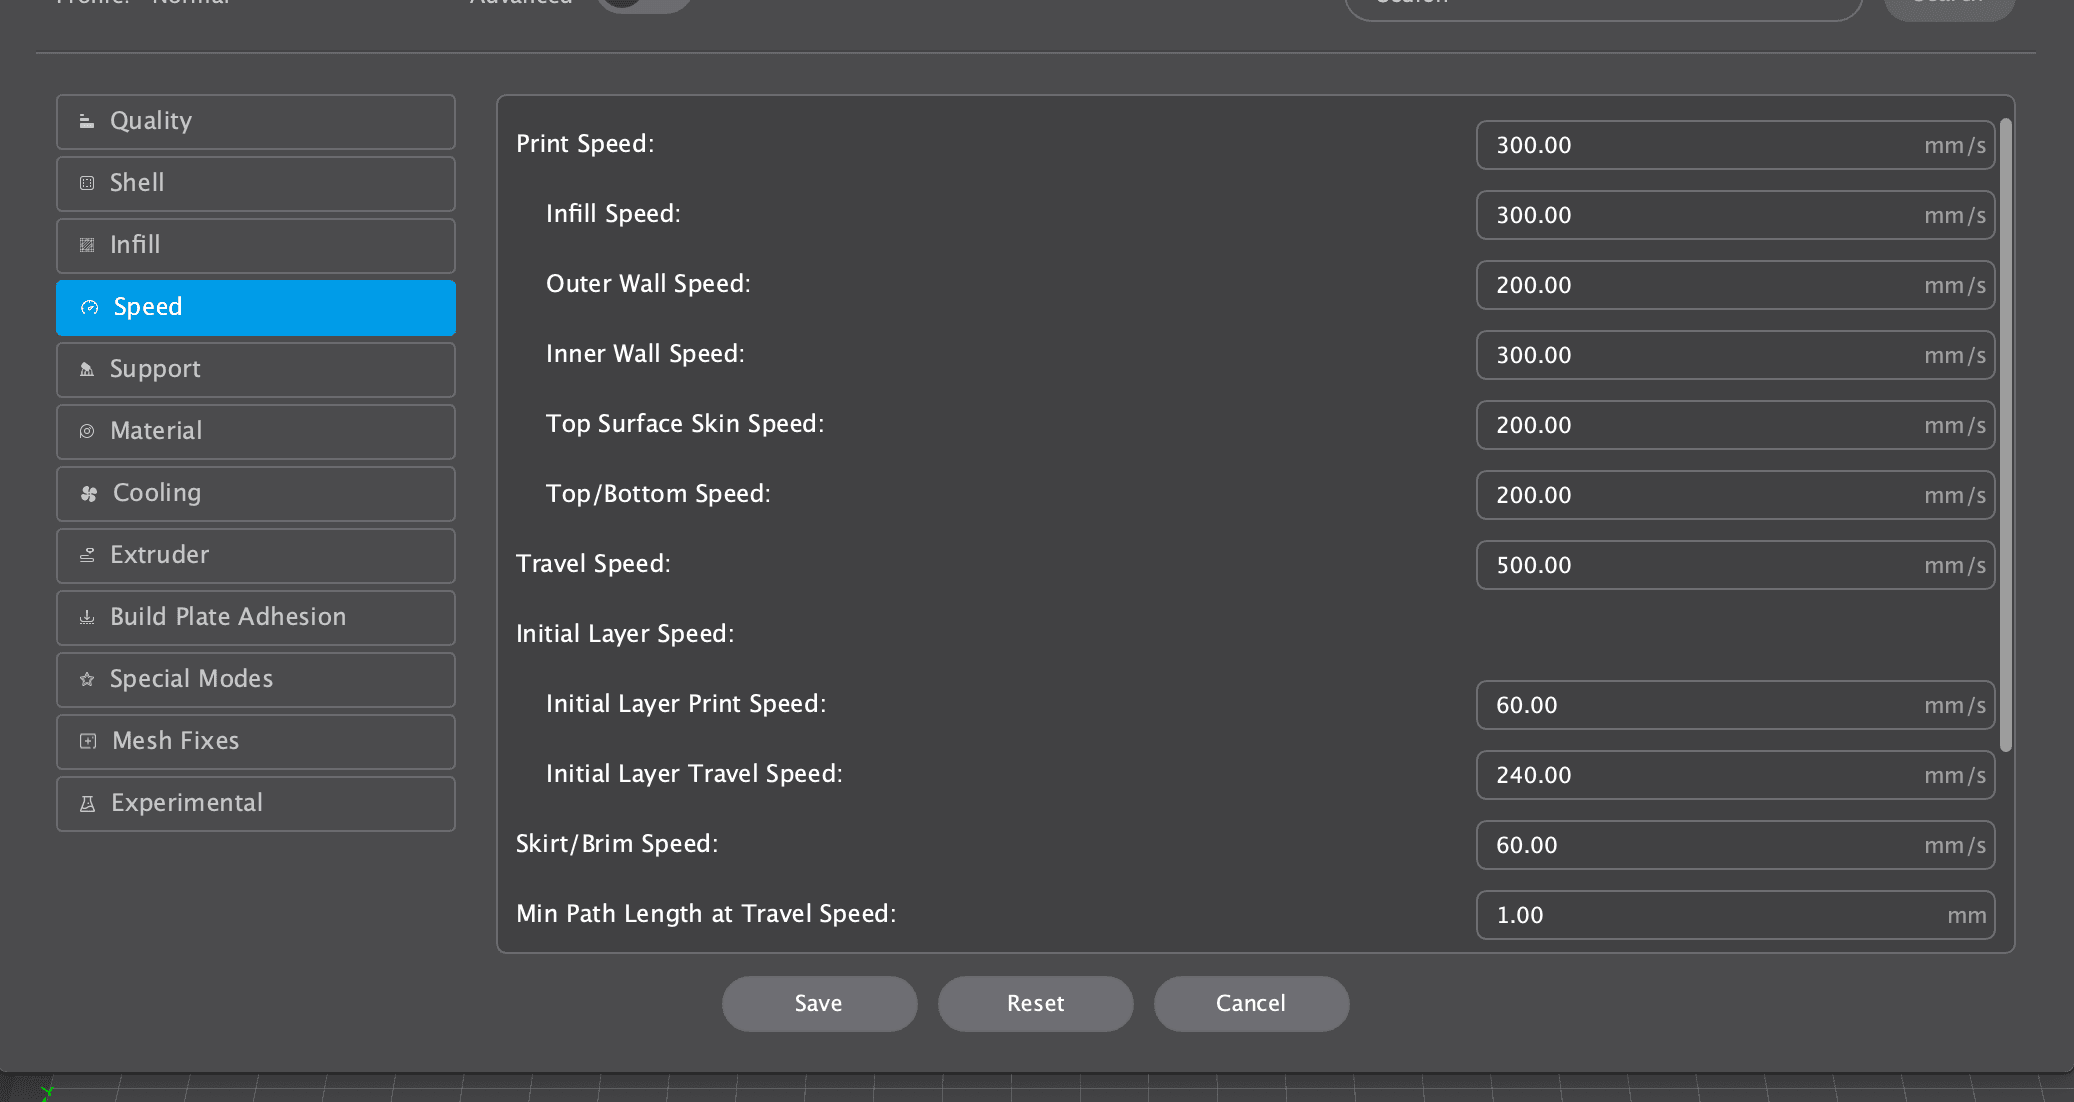
- Change the printing speed to 60mm/s, travel speed to 70mm/s, and click save.
- Select "Slice" in the bottom left, and then export the gcode file locally to your laptop.
- You will need to use the USB in the printing room to load the saved gcode file to the printer.
- Insert the USB onto your computer, and copy the gcode file to the USB drive. Save the file as "Parabolic Disc". Then unplug the USB.
Printing
- Switch on the printer, and use the controller to tell the printer what to do.
- Go to move, move-z, and turn the knob until the z is at 0.
- Now go to z-offset, and turn the knob until the z-offset is somewhere between -1.7 and -1.8.
- Select Preheat to heat the board and nozzle up.
- Insert the USB into the printer at the bottom, and then go to Print, and select the "Parabolic Disc".
- The machine will start printing, it will take roughly 3 hours to print.